Preparing a Year-End Receipt Letter
Click here to watch the video instructions:
Preparing Year-End Receipts from Innovative Mentoring Software.
-
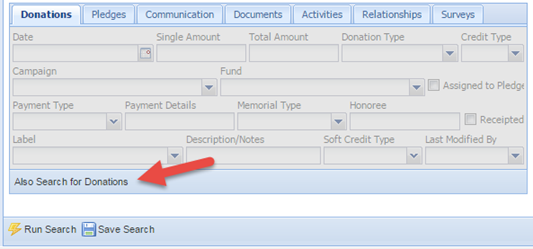
Go to Donor–Individual Search.(You may also follow these steps for the Donor–Organization Search or the Donations Search screens as well.) Click on the Also Search Donations button to activate the Donations tab.
-
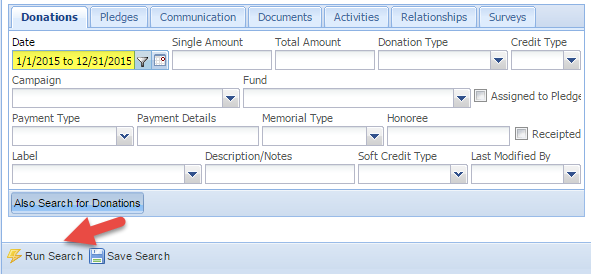
Enter in the appropriate donation date range and any other identifying criteria.
-
Click the Run Search button at the bottom of the screen.
-
When you get your results, click on the second tab called Donation Results. Uncheck any donations that you do not want included.
-
Click on the Mailing button at the bottom of the screen.
-
On the Mailing screen, select your existing donation receipt template from the drop down list or create a new template.
-
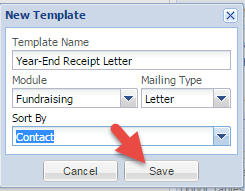
To create a new template, click the New Template button

-
Fill in the New Template window and click Save.
-
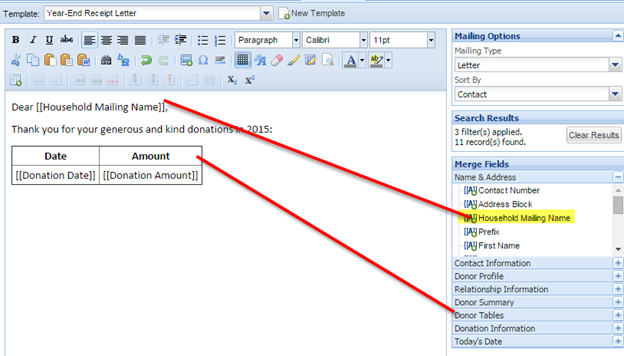
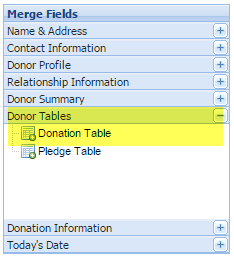
Type any text you would like and add any appropriate merge fields. (To add a merge field, double click on the appropriate field listed in the right hand column.)
-
Add a Dontaion Table by double clicking on the field
-
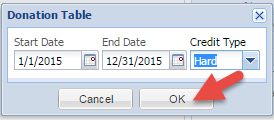
Fill in the appropriate timeline for your donation table. Click OK.
-
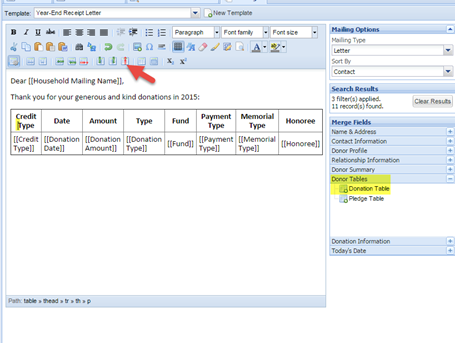
You are able to delete columns from the table by placing your cursor in the column you want to remove and clicking the
 button.
-
Add any other Merge Fields you would like to compelete your Year-End Reciept Letter.
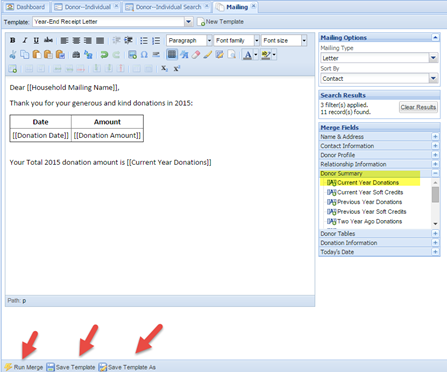
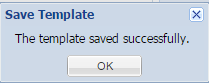
14.Click the Save Template or Save Template As button at the bottom of the screen when you are done and click OK.
15.Click Run Merge and you will now have your year-end receipt letters in Microsoft Word.
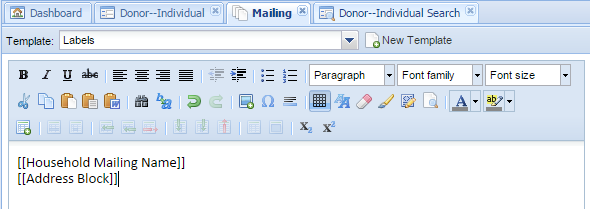
16.To create corresponding mailing labels, select the appropriate labels template from the drop down list and click Run Merge or create a new template.
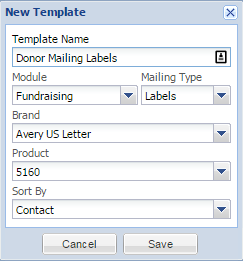
17.To create a template for labels, click on the New Template button at the top of the screen. Fill out the appropriate information in the New Template dialog box, including adding a Template Name, select Fundraising for the Module, select Labels for the Mailing Type, select your brand for labels, and select the appropriate product number. You may choose to sort the labels alphabetically by contact name or you can sort by postal code. Click Save.
18.Then insert the appropriate merge fields, and click Save Template. (To have the address block directly under household mailing name like the example below, hold down the Shift key when you click Enter to start the next line.)
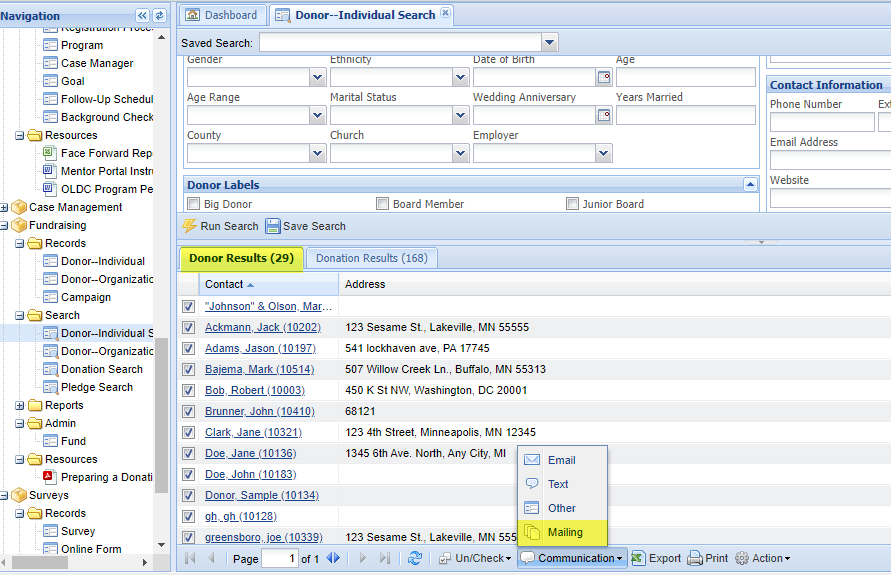
19.After you have completed your year-end receipt letters, you can flag each donation as being receipted. In your database, click on the Donation–Individual Search tab that is still available at the top.
![]()
20.At the bottom of the search results, click on the Action button and select Flag Receipted.

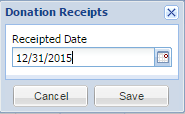
21.Enter the date you sent the receipts, and click Save.
For additional information, please see our training video: Preparing Year-End Receipts