The text messaging feature can be added to the Premium and Enterprise packages at anytime. If you haven’t already purchased texting as part of your Premium package, please contact support to receive your quote.
Please note: The actual steps for setting up your Plivo account change frequently and may not match the order or screenshots provided below. If you are having difficulty activating your Plivo account, please reach out to Plivo to receive technical assistance.
OVERVIEW
At a high level, the following are the steps we need you to complete in order for our team to setup the integration:
![]() Activate your Plivo account (you will be required to validate the email address (no gmail email addresses) and mobile phone number you provide) via Plivo
Activate your Plivo account (you will be required to validate the email address (no gmail email addresses) and mobile phone number you provide) via Plivo
![]() Add monetary credits (USD) to your Plivo account, which will be used as you send messages from the IMS database. (A free or trial account cannot be tied to your IMS database)
Add monetary credits (USD) to your Plivo account, which will be used as you send messages from the IMS database. (A free or trial account cannot be tied to your IMS database)
![]() Purchase SMS-enabled phone number(s) for your local area.
Purchase SMS-enabled phone number(s) for your local area.
![]() Provide [email protected] the access information for your Plivo account.
Provide [email protected] the access information for your Plivo account.
![]() Complete our texting setup questionnaire to provide the details our team needs to customize your setup.
Complete our texting setup questionnaire to provide the details our team needs to customize your setup.
STEPS TO ACTIVATE YOUR PLIVO ACCOUNT
The following are more detailed instructions to help guide you through the Plivo account setup process. As previously noted, the steps will vary.
- Go to www.plivo.com and click the Sign Up button.

- You must use an email address with an individual’s name followed by an owned business/organization domain. Examples include [email protected], [email protected].
Generic email addresses like director@ or info@ will be rejected by Plivo. Also, Plivo will not give paid accounts to free email services like gmail, hotmail, yahoo, etc. because they have had issues with spam.
- Fill out the form to create your Plivo account.
Note: If you have purchased more than 1 texting license, you will use a single Plivo account for purchasing your texting phone numbers that the database will use to send text messages from your database.

After you click Create your trial account, you will see this:
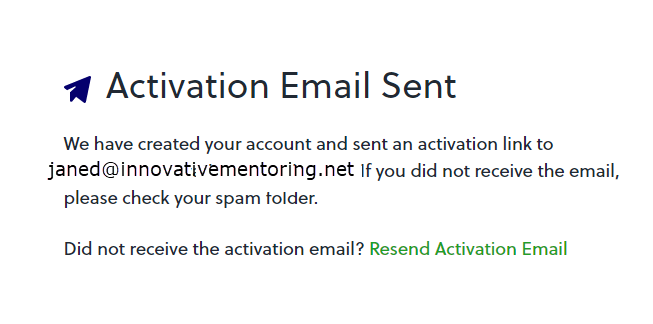
- Once you submit the form to get started (requires providing a valid email address), you will receive an email from [email protected] to verify your email address and activate your account.
Note: Plivo will not give paid accounts to gmail addresses because they have had issues with spam.
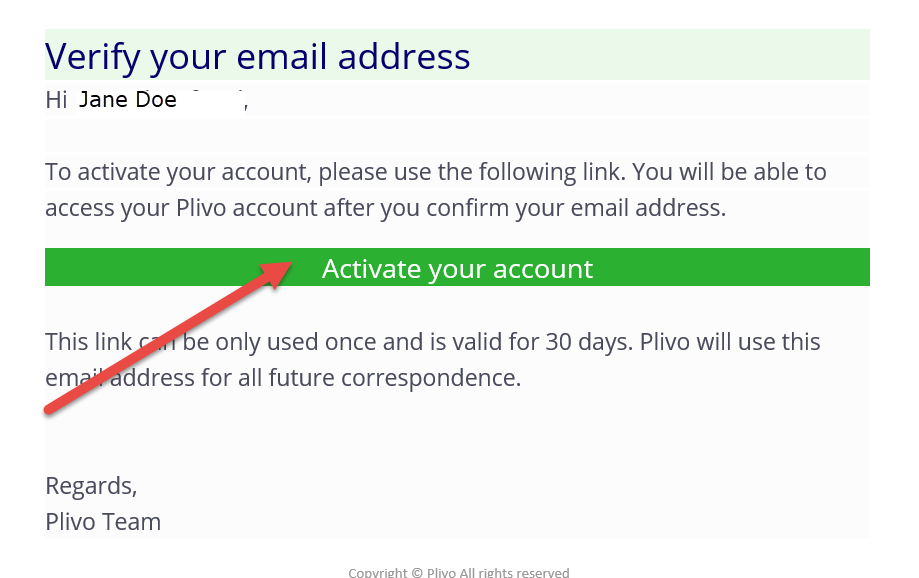
Sign into the email account for the email address you provided, locate the verification email, and verify your email address by clicking the link:
-
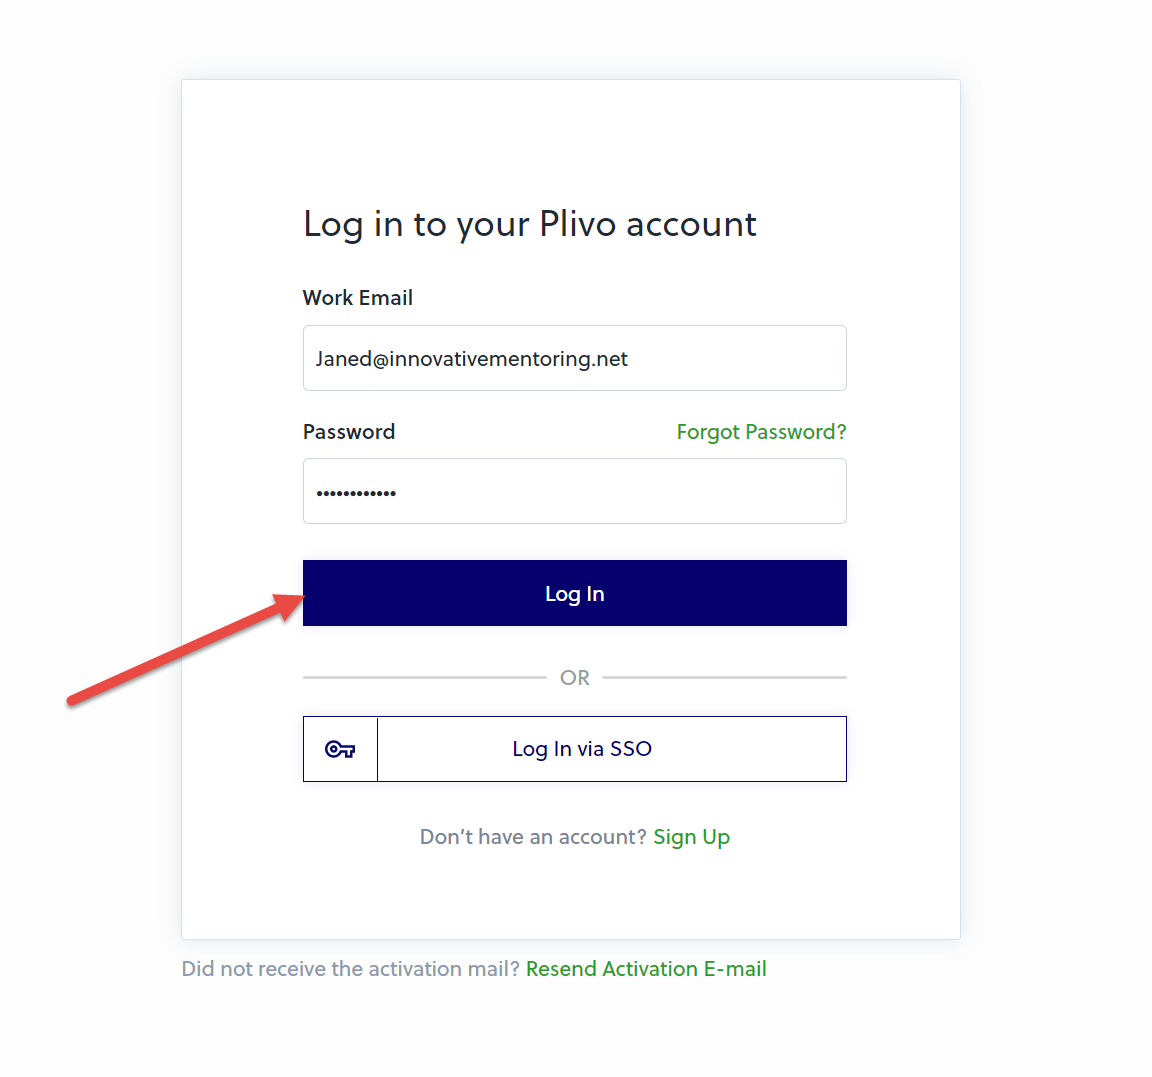
At the log in prompt, enter the email address and password you created when you signed up:
-
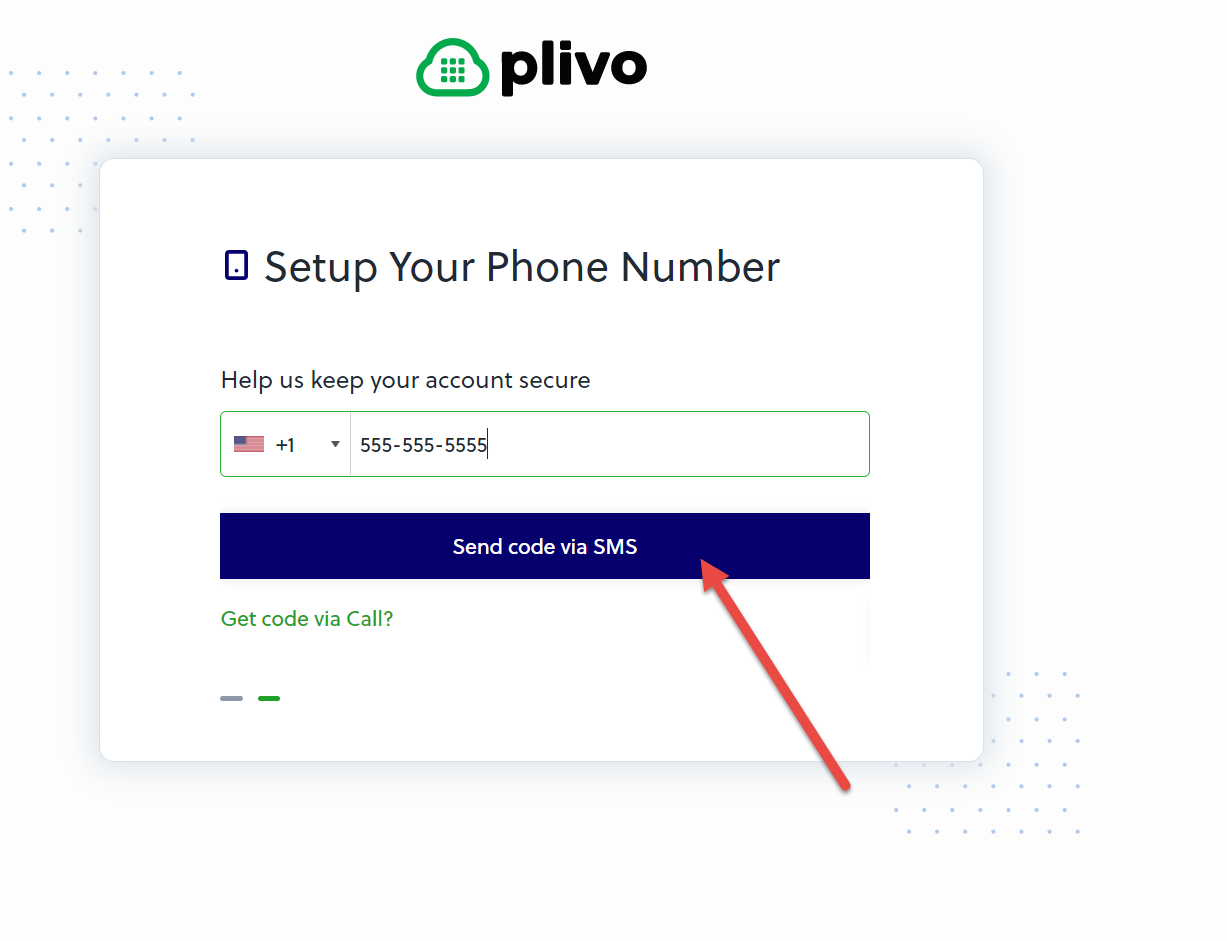
Phone verification is required to finish activation your account. Enter a your mobile phone number at the sign in prompt. This can be your personal phone number or an organization phone number that supports SMS messages. You can verify your phone number by receiving code via SMS or phone call.
-
Enter the code that was texted to your phone:

- After verifying you phone number, your account will be activated. On the Welcome window please select the following options to take you to the Plivo Console.
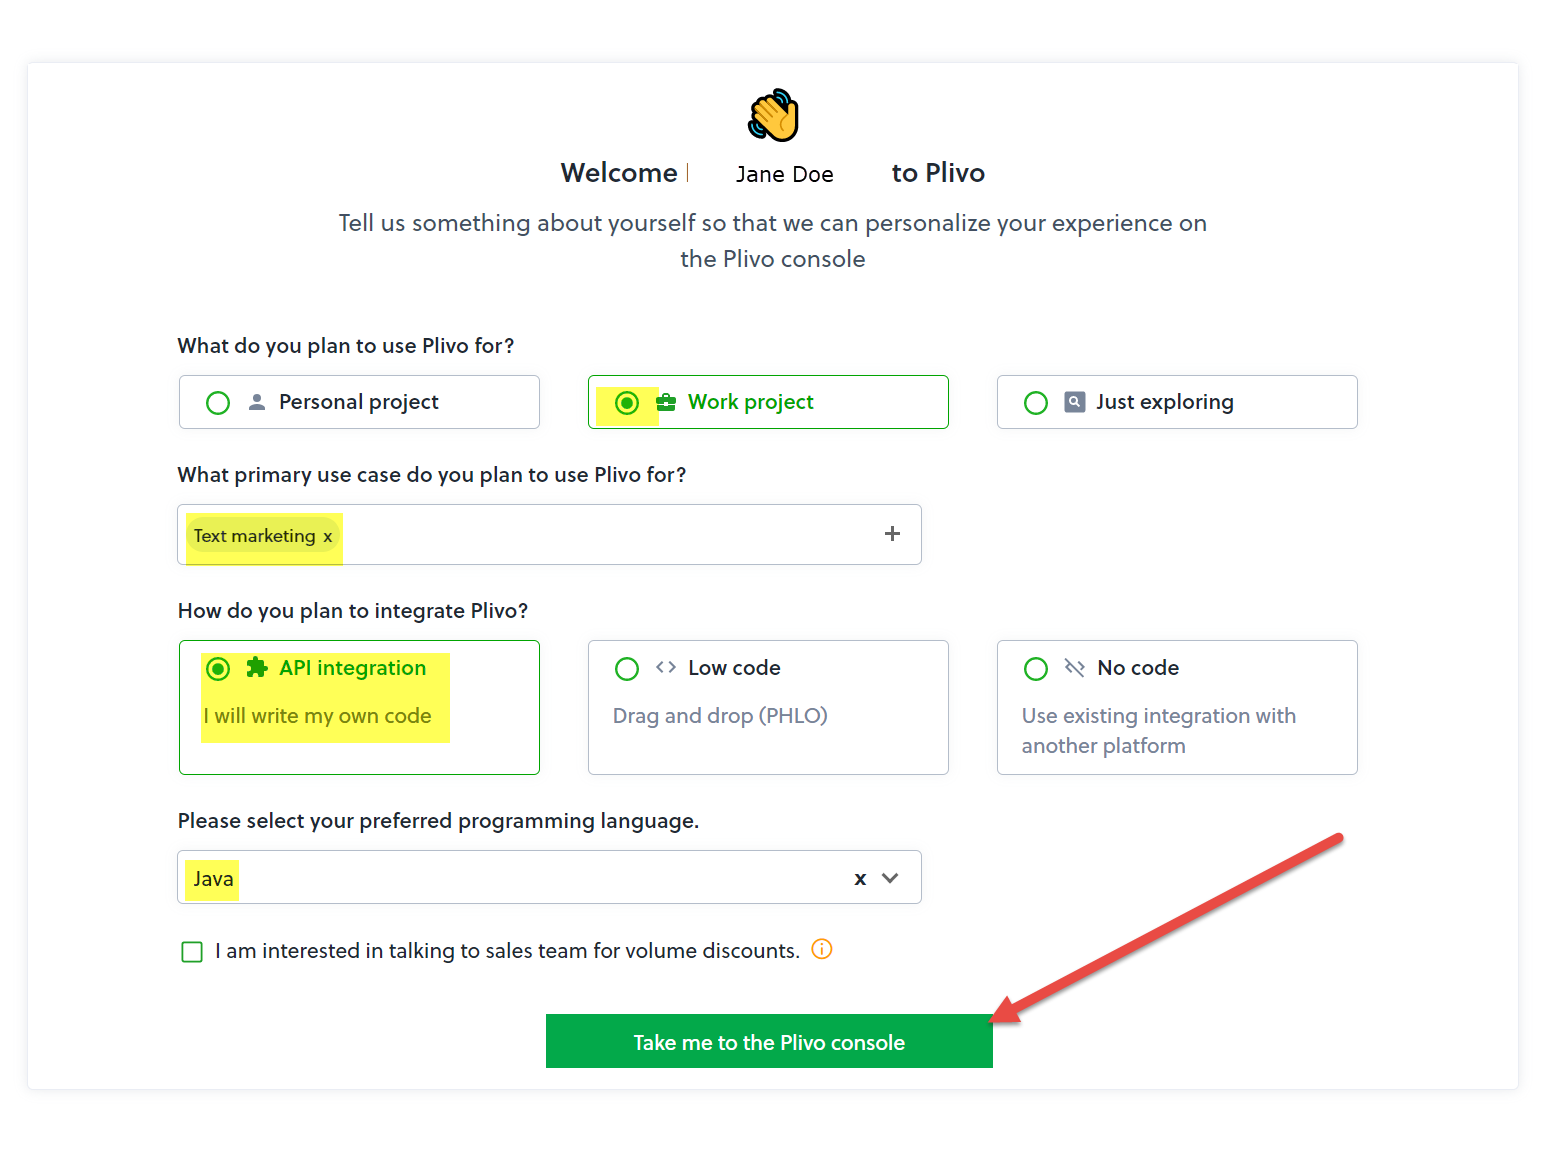
8. Click Get Started:
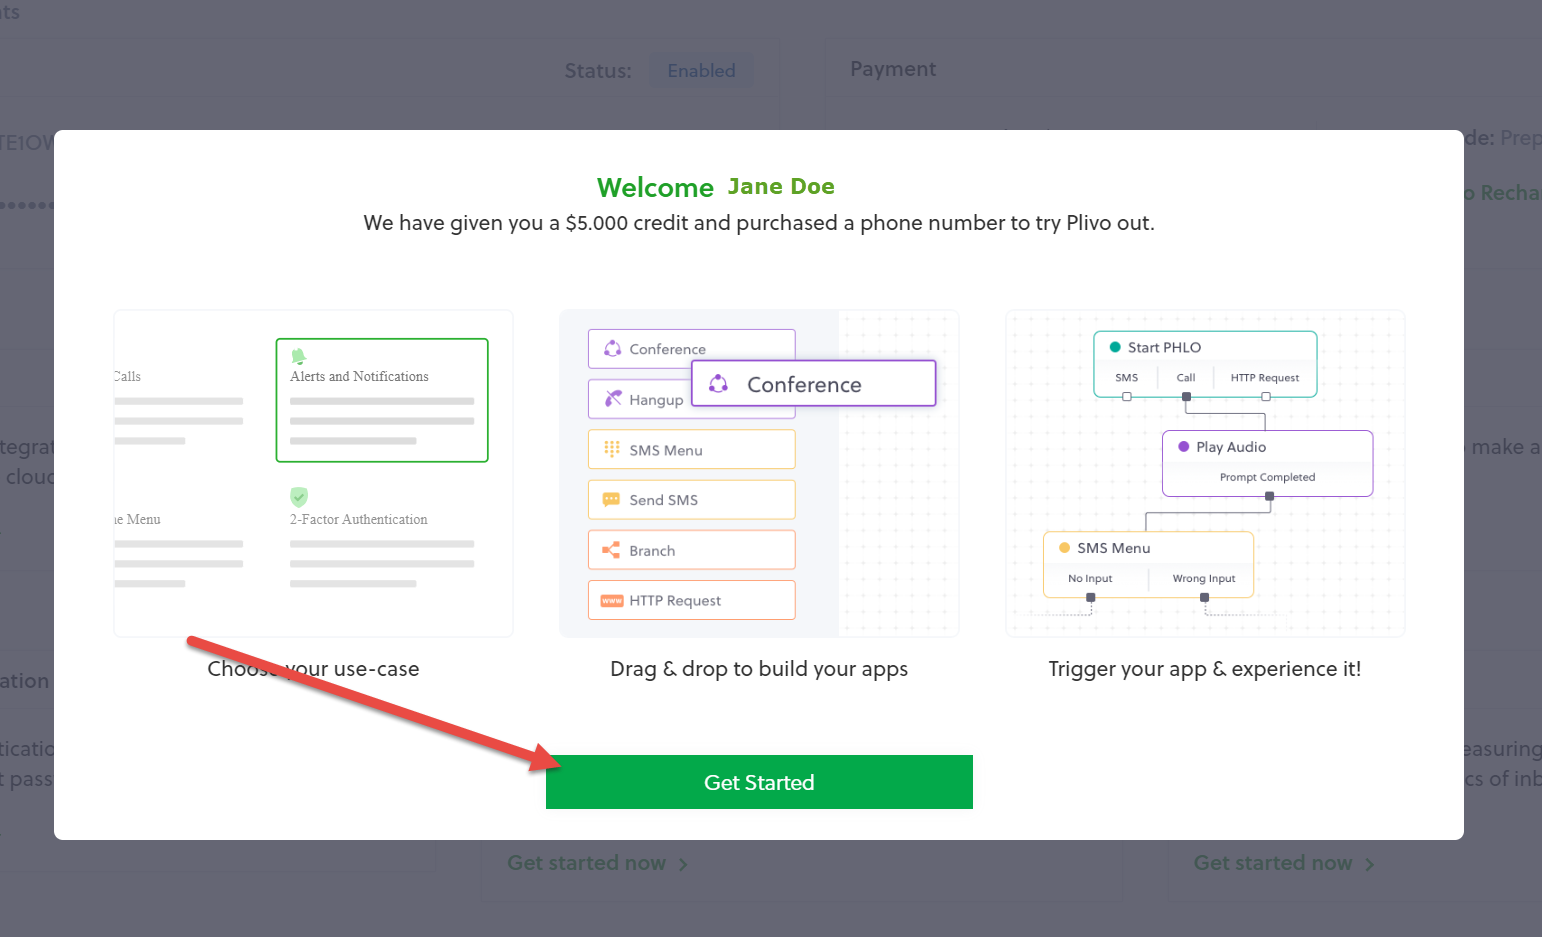
- From the choose your case window select the SMS options and Create Application:

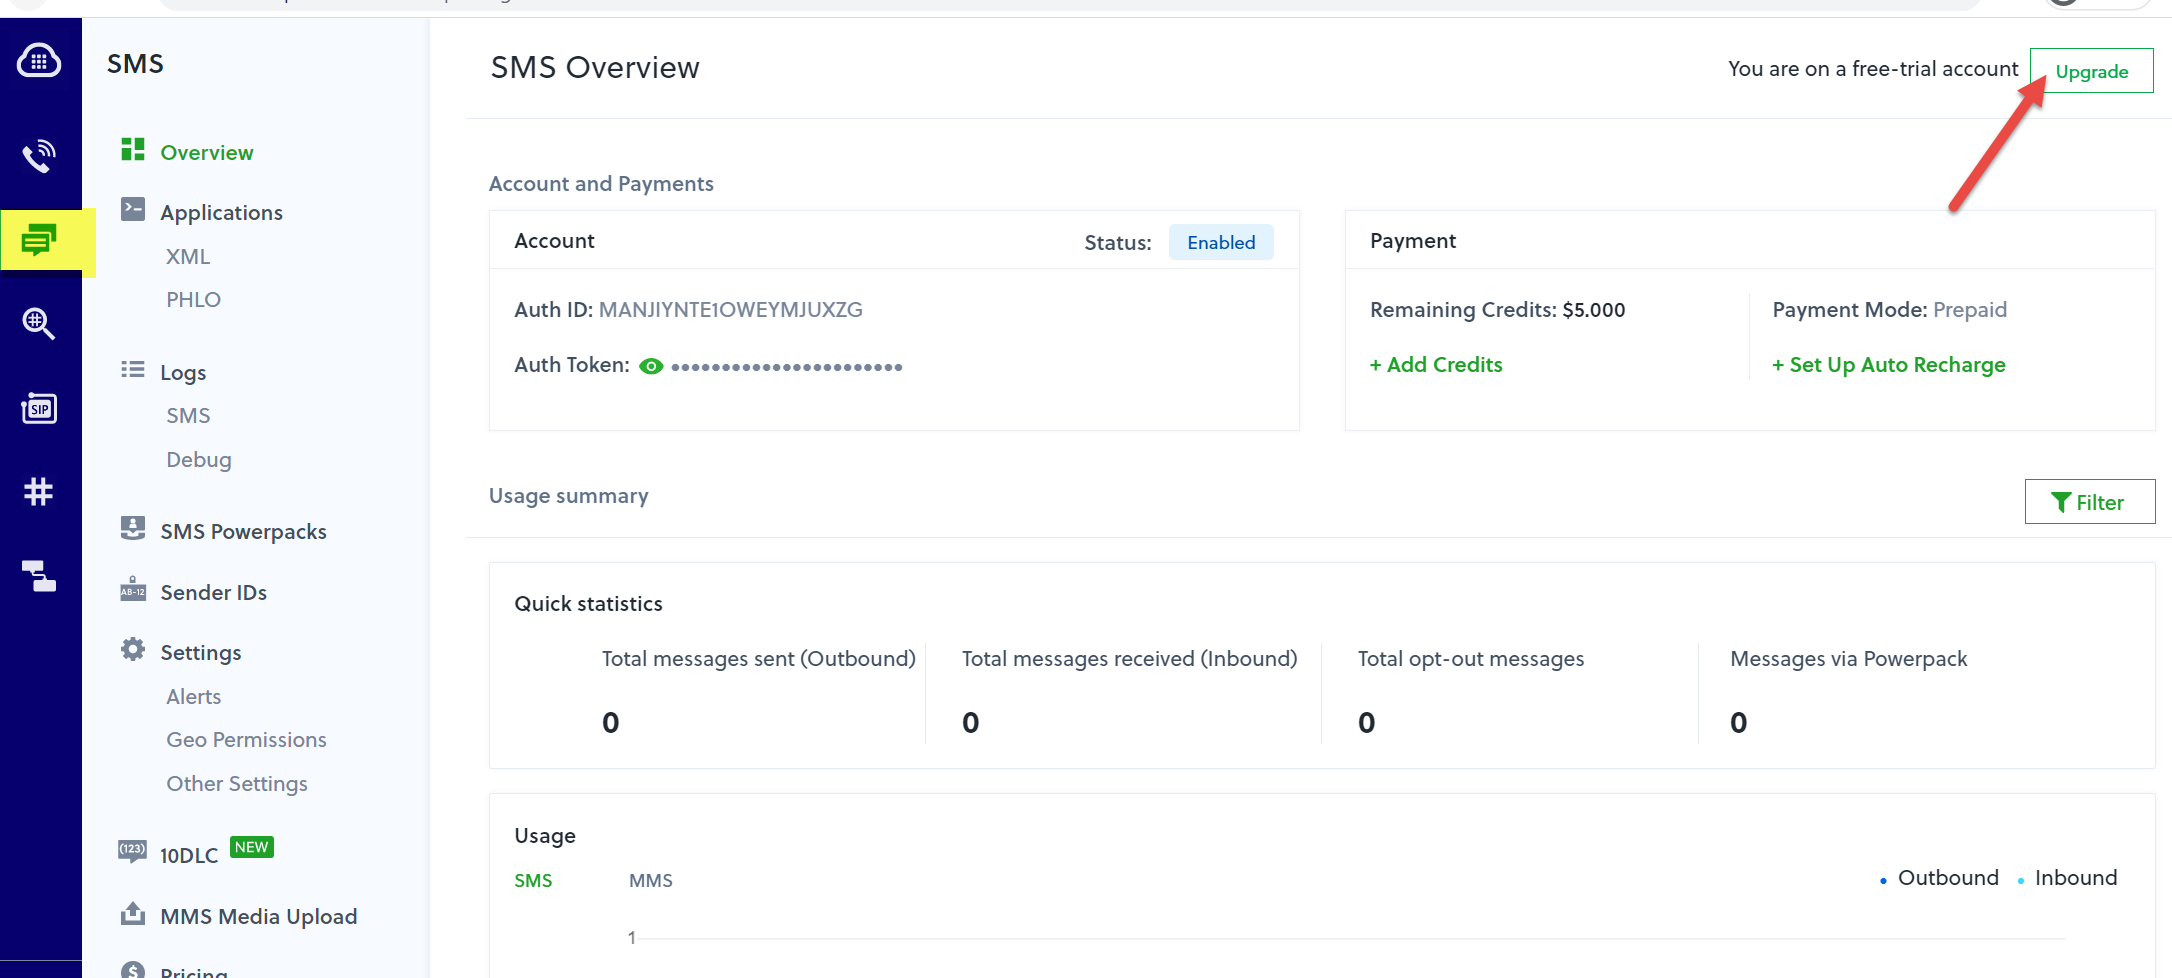
- From the SMS Overview click the Upgrade button:
- From here you can enter your payment details. To ensure uninterrupted service, we recommend enrolling in the Auto Recharge option.
Plivo charges a per phone number fee/year. In addition, you will pay a separate fee for each text that you send out from the database. Incoming text replies received as email are free.
Click Upgrade Account

- Go back to your SMS Overview screen to see if you have credits added to your account:
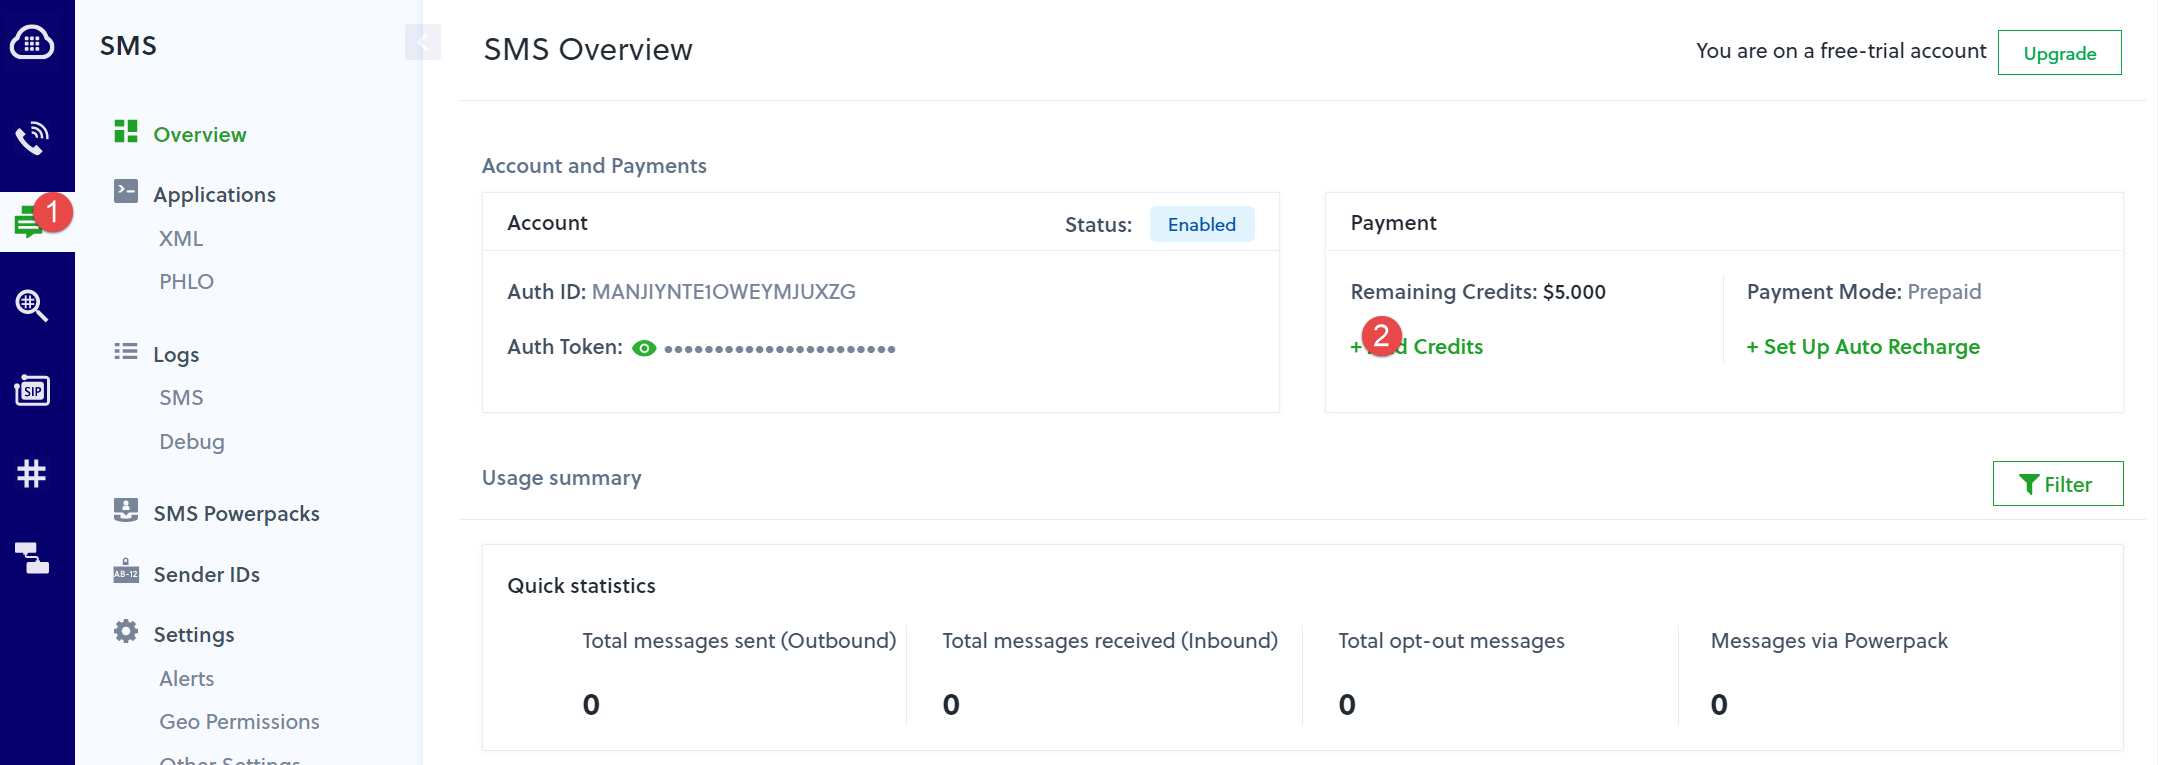
-
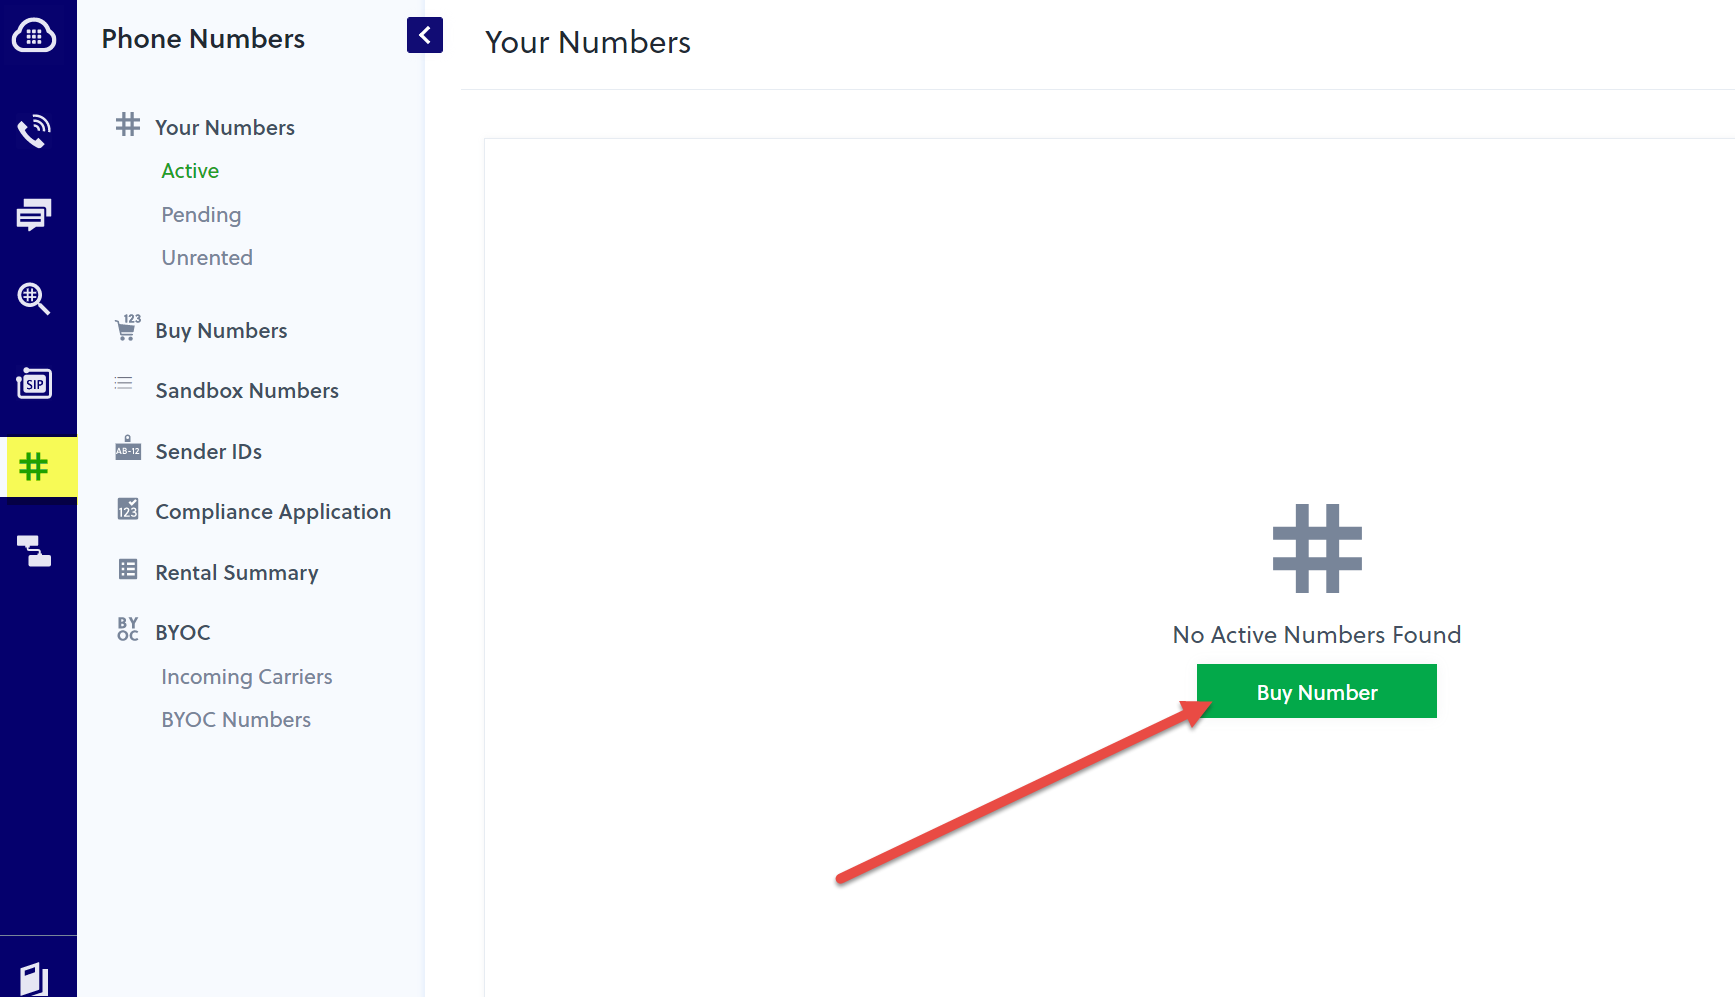
From the Your Numbers screen, you can now buy a phone number:
-
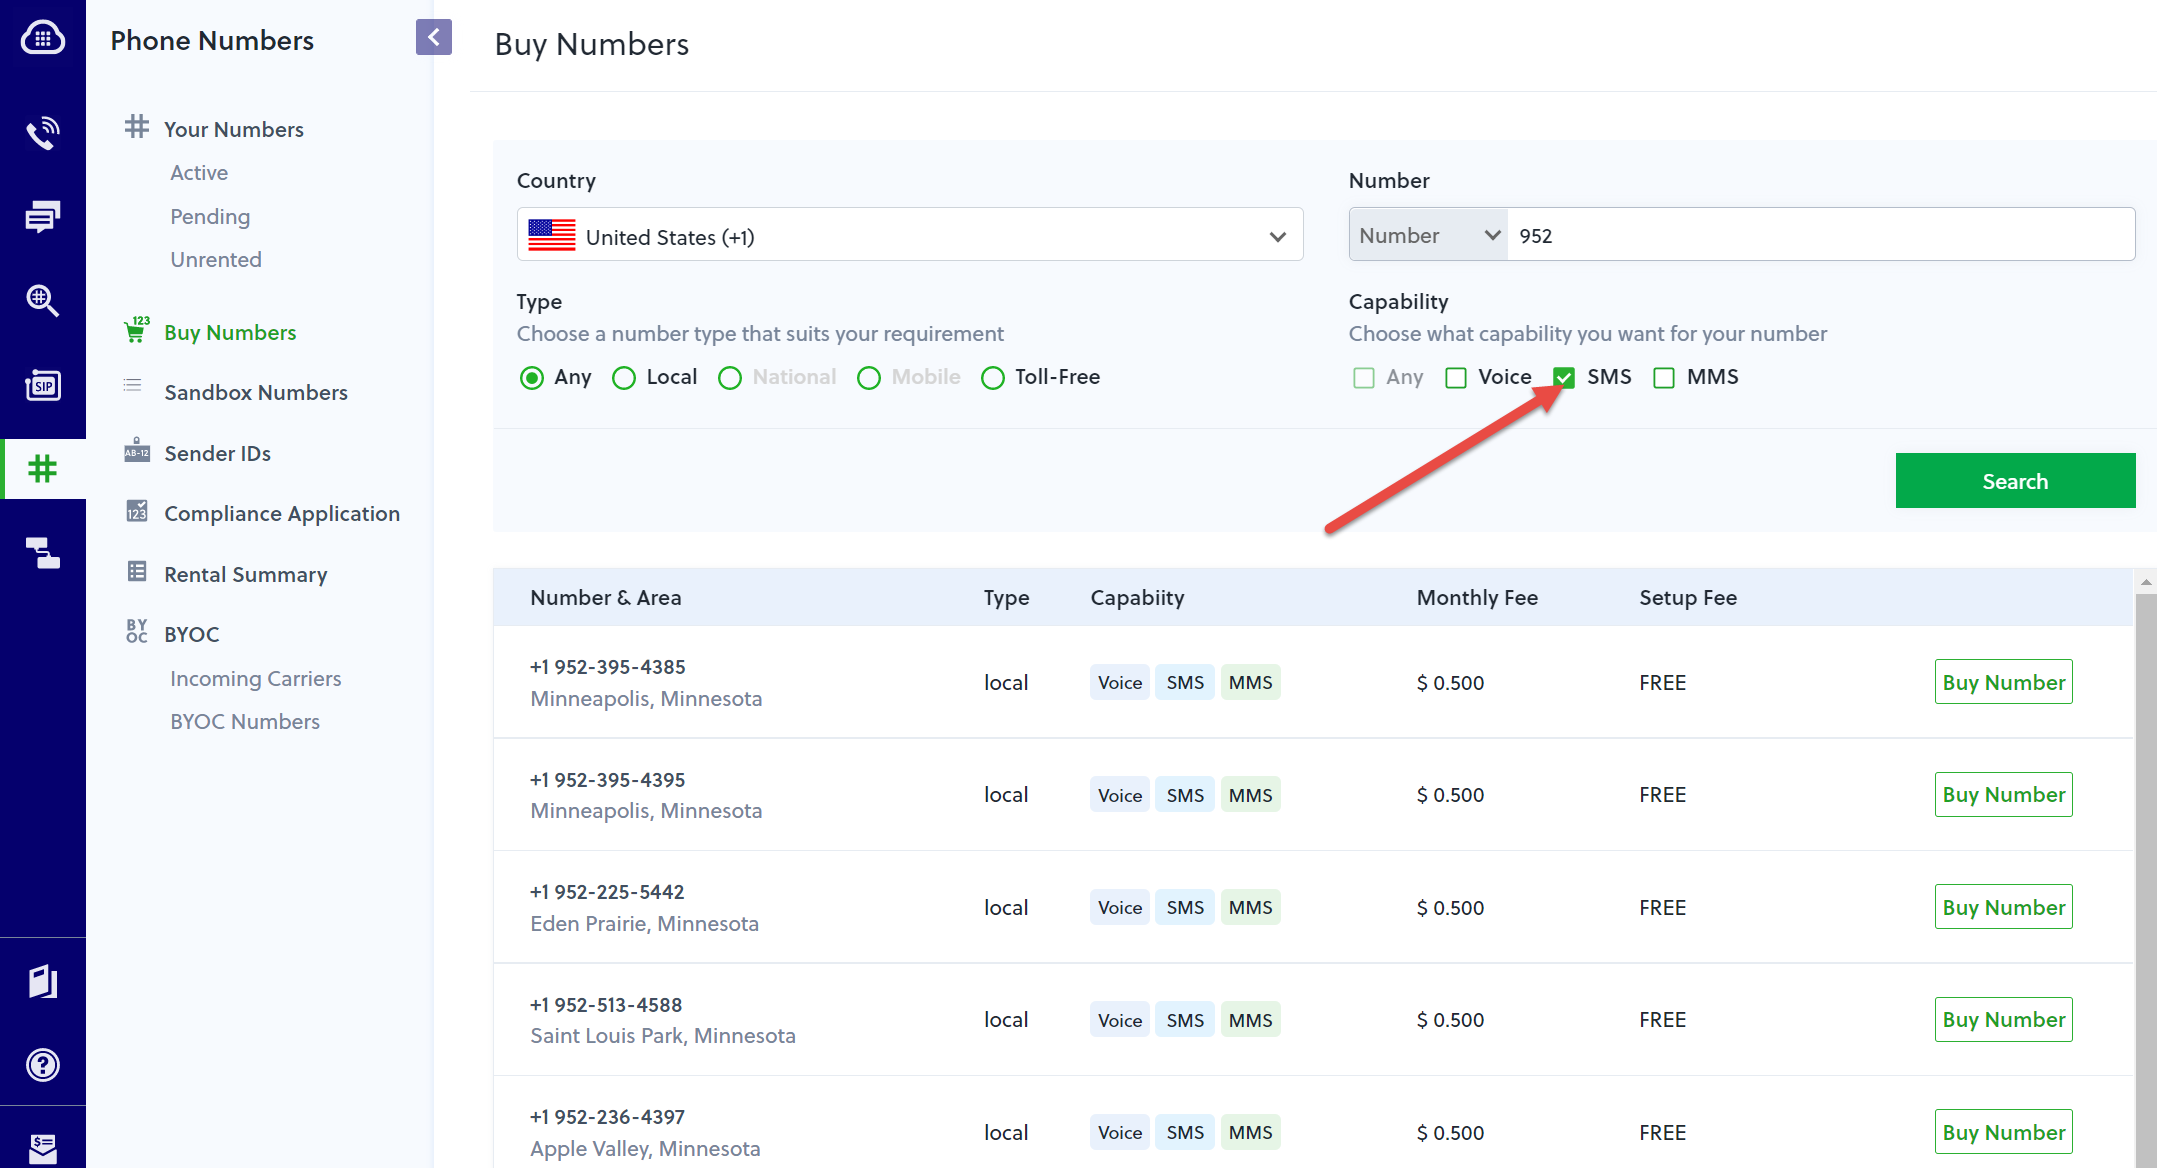
When selecting a phone number the most important part it to be sure it has SMS capability. Click Search and then Buy Number of your choice:
-
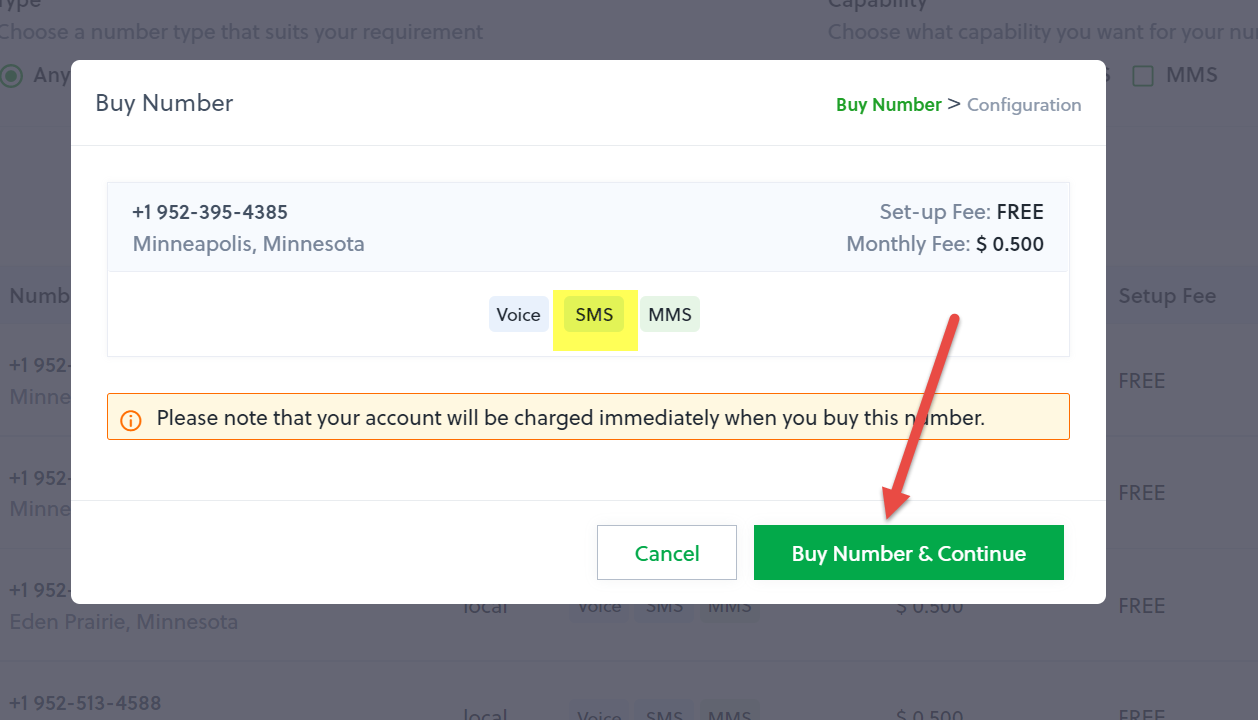
Double check the number, then click Buy Number & Continue:
-
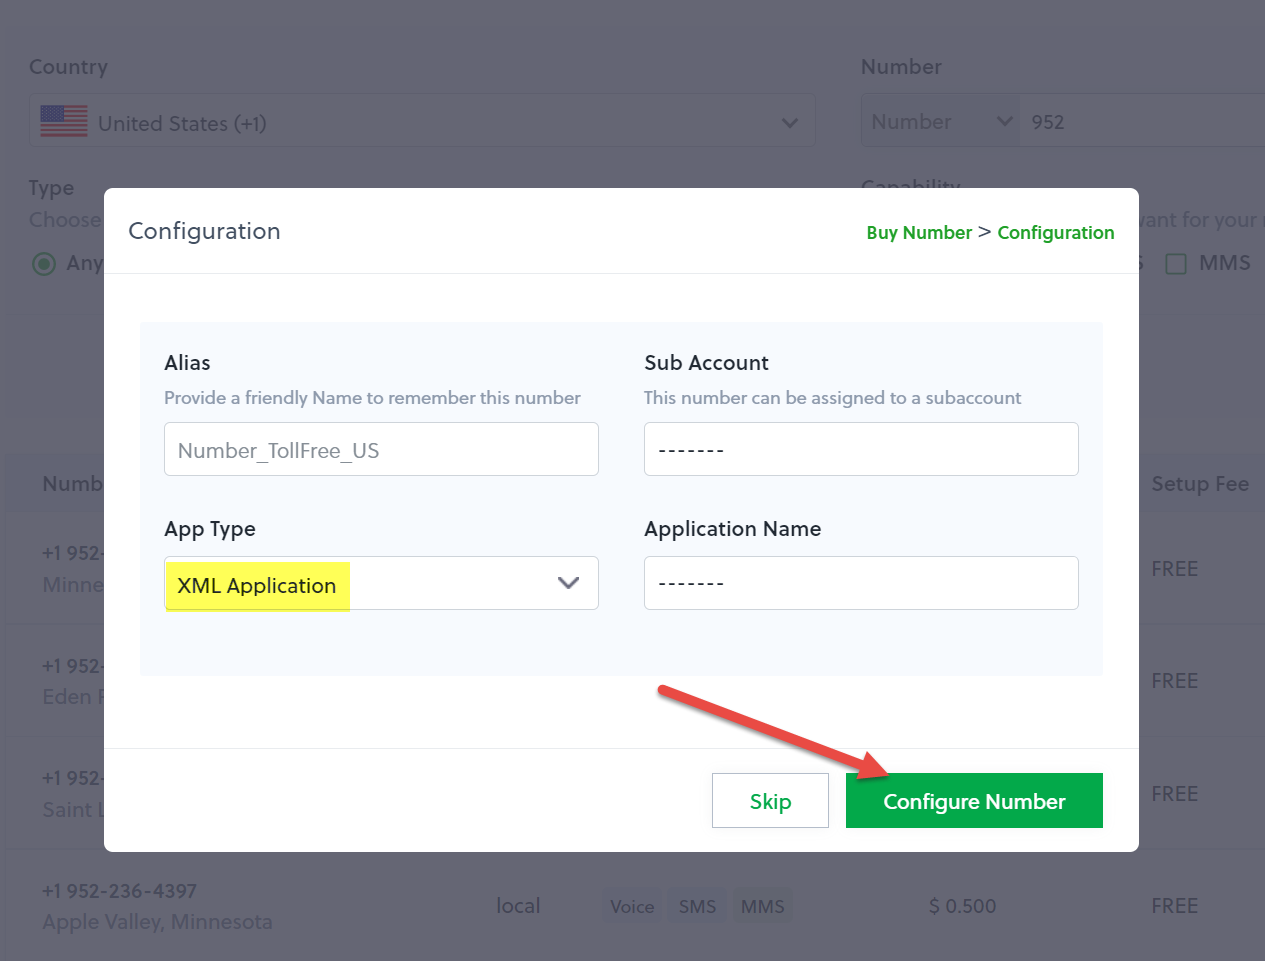
Add the App Type as XML Application, then Configure Number.
-
You should now see your new number from the Phone Number Screen:
If you have more than one texting license, we typically recommend purchasing a unique Plivo phone number for each texting license so that text replies are routed to the user who sent the text message.
If you have more than one texting license, and you prefer to share the Plivo phone number, we can setup the phone number at the database level and forward text replies to a general email address that you provide, such as [email protected].
Note: In addition to forwarding text replies via email, all replies are recorded in the database.
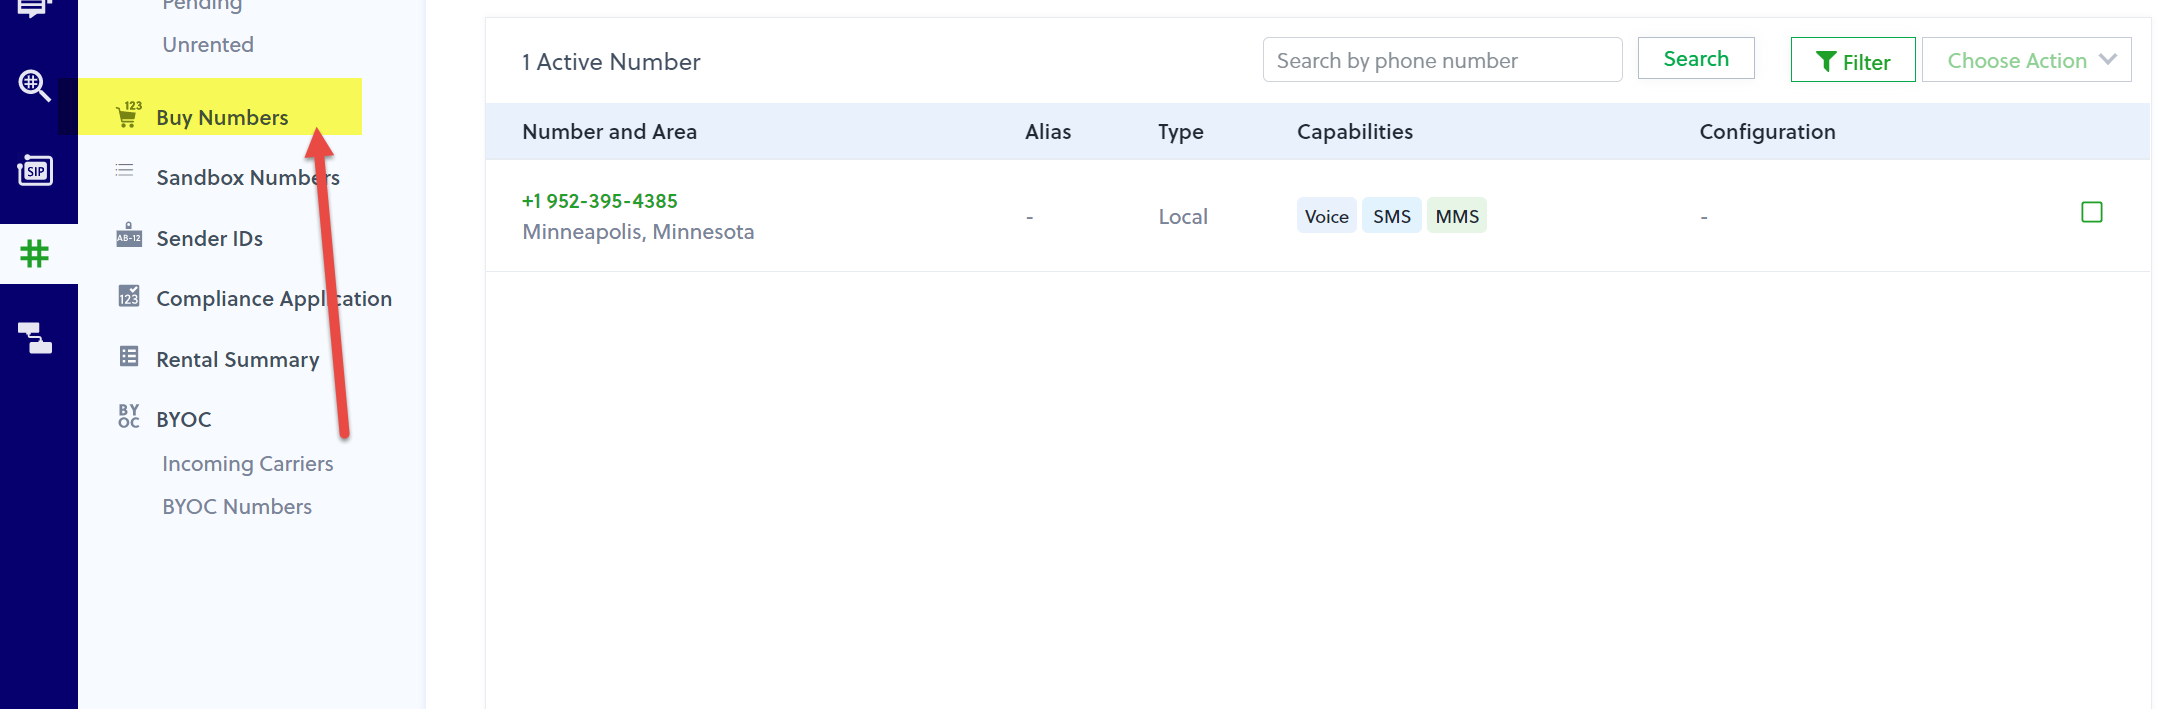
- To purchase additional phone numbers, click on the Buy Numbers tab.
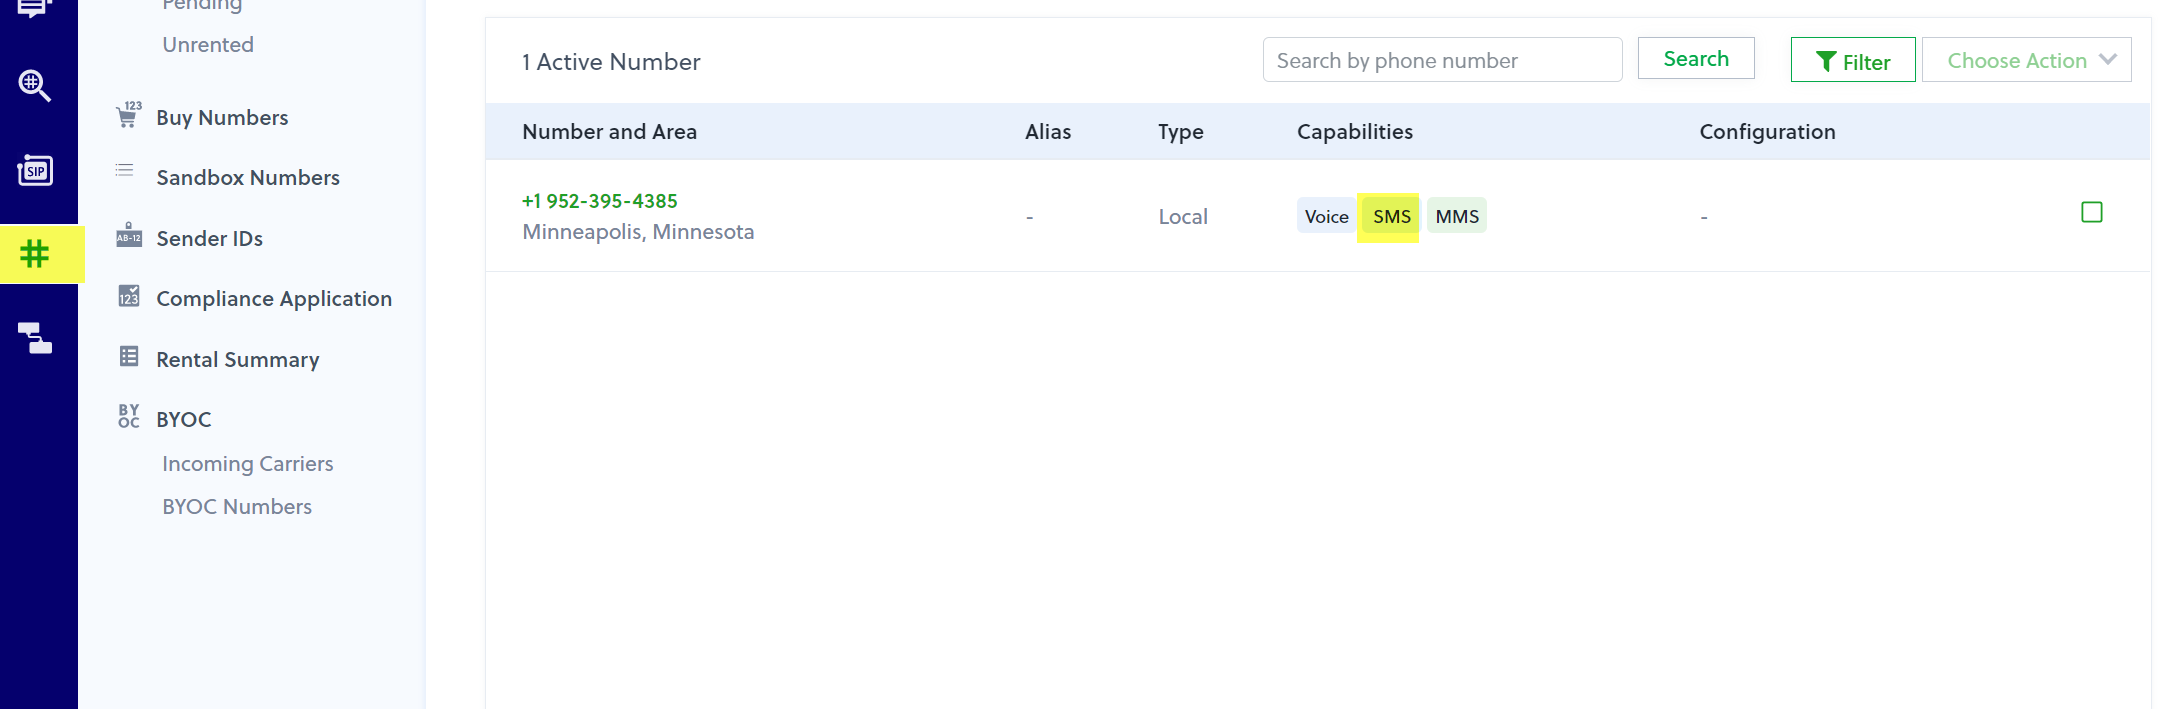
![]() IMPORTANT: Select the SMS filter button to ensure you only see results for SMS-enabled phone numbers.If you purchase a phone number that is not SMS-enabled, you will have to repeat this process and delete the non-SMS phone number from your Plivo account.
IMPORTANT: Select the SMS filter button to ensure you only see results for SMS-enabled phone numbers.If you purchase a phone number that is not SMS-enabled, you will have to repeat this process and delete the non-SMS phone number from your Plivo account.
-
Send your new Plivo Username and Password to [email protected]
-
Once your account is setup, please coordinate a time with us to give us your 6 digit code for Plivo’s two factor authentication. We will use it to link your IMS database to the Plivo account.
-
Complete our texting setup questionnaire.