You can create survey invites for individual mentors or mentees from two places: the Mentor or Mentee screen in the Mentoring Module (where you do data entry and case management) or from the Survey screen in the Survey Module.
Case Management users can create individual survey invites for client or volunteers from two places: the Client or Volunteer screen in the Case Management Module (where you do data entry and case management) or from the Survey screen in the Survey Module.
Even if the survey invite is not going to be emailed out, a survey invite must be created before a survey can be added to a participant record.
Mentee surveys can be emailed to the mentee, emailed to the guardian, or completed by organization staff on behalf of the mentee.
1.Go to the record of the mentor or mentee through the Mentor or Mentee screen and click on the Surveys tab on the bottom portion of the screen.
![]()
OR
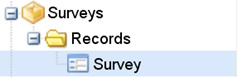
Go to the Survey screen in the Survey Module in the Navigation Menu:
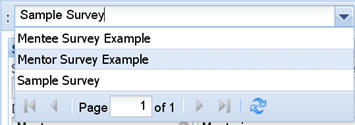
And then select the appropriate survey from the drop down box at the top:
2.In the Invites/Responses tab, click on the Add New button at the bottom of the screen.
![]()
3.If you are on the Mentor or Mentee screen, begin by selecting the appropriate survey from the drop-down list.
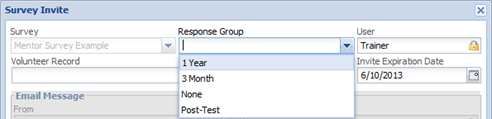
4.Select the appropriate Response Group
Options for the Response Group field are created when your surveys are set up—you can request additional response groups at no charge by creating a support ticket
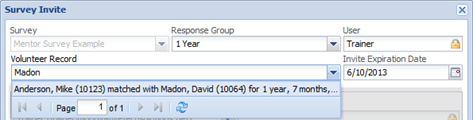
5.Select the appropriate Volunteer Record or Case Record. If you are on the Mentor or Mentee screen and that mentor or mentee only has one match, you will only have one option here. If the mentor or mentee has more than one match, select the appropriate match from the list.
If you are on the Survey screen, you will see a list of all of the volunteer records or case records regarding your mentors or mentees. Begin to type the name of the appropriate mentor or mentee to select the correct volunteer record or case record for this invite.
6.Select an Invite Expiration Date from the calendar or type a date.
(The default expiration date is 3 months from the date that the invite is created.)
7.Once you have completed the required fields, your invite is ready. If the recipient has an email address, you have the option to email the survey. If the recipient does not have an email address on file, you may save the invite and fill out the survey in the database.
8.The email subject and message is the default that you created on the Survey screen. You can modify the subject or message text to further customize it for the recipient.
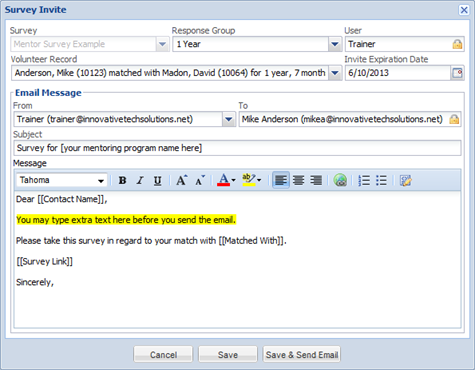
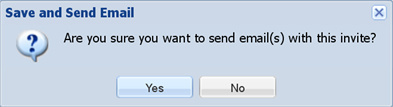
9.If you are emailing the survey invite to the mentor or mentee, click on the Save & Send Email button when you are done preparing the invite. You will get a prompt to be sure that you want to email the invite. Click Yes.
10.If someone will be filling out the survey on behalf of the mentor or mentee (client or volunteer), click on the Save button.
11.The survey is now ready to be taken. The mentor or mentee will receive the email with a link to the survey, if applicable. When the survey is completed, the results will show in the database. You can also take the survey on their behalf by clicking on the Take Survey link in the database.
![]()